Introduction
You can get started with Vrite by either self-hosting it or using the Vrite Cloud.
Sign In
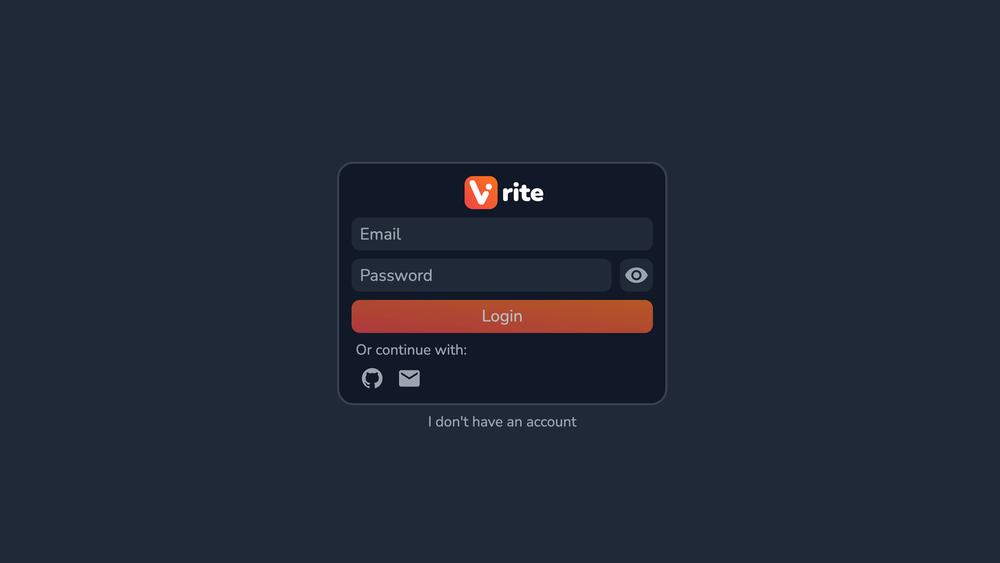
Whatever way you choose to use Vrite, you’ll be first met with the sign-in page. Here you can do one of the following:
- Sign up by clicking I don’t have an account and providing your new username, in addition to a unique email and password; You’ll be sent a link to confirm your email address and finalize the process.
- Sign in or sign up via GitHub by clicking the GitHub button and going through the OAuth process;
- Sign in using the email and password form;
- Sign in using the Magic Link, by providing an email to which a sign-in link will be sent to. It’s also useful when you forget your password (once you’re in, you can change it in the settings).
Navigating Around Vrite
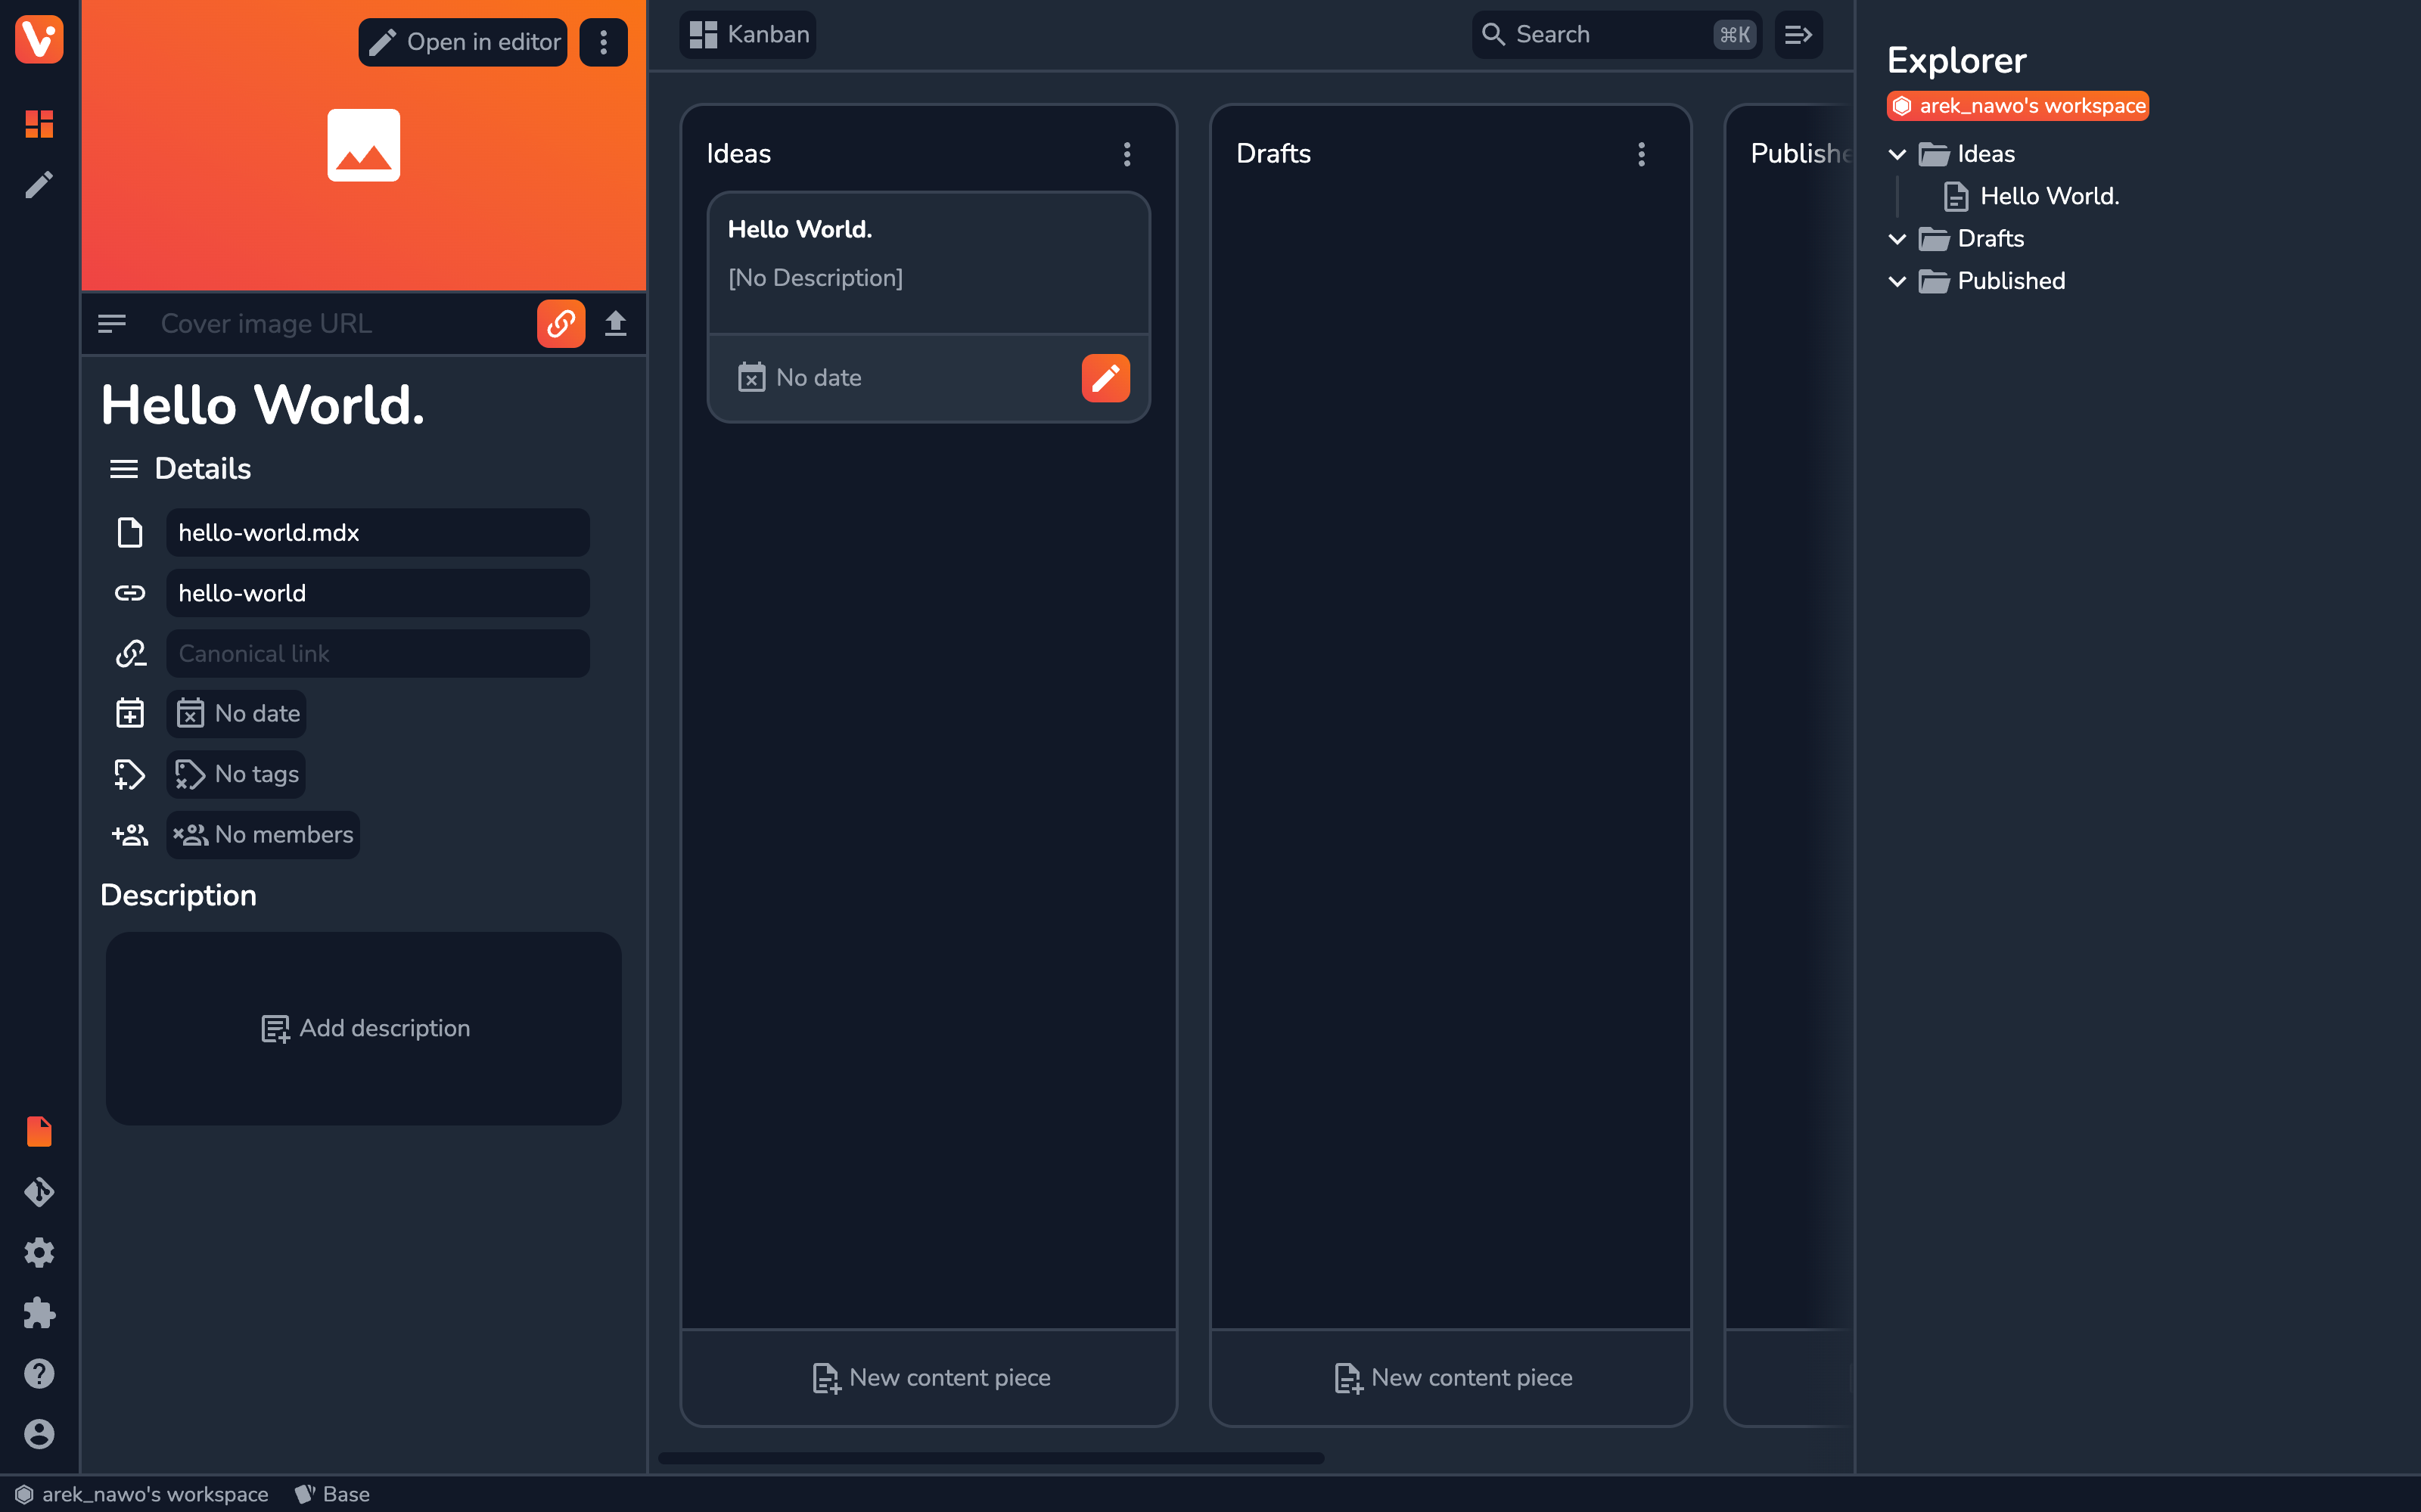
To easily navigate around Vrite, you need to get to know the 3 main parts of the UI:
- Sidebar — used to navigate between different sections of the UI;
- Left side panel — where most side activities like configuration, metadata editing, and team management take place; You can easily resize or even collapse it entirely by dragging its right-side border;
- Main view - the largest area of the viewport, focused primarily on content management (the dashboard) and editing (the editor);
- Right side panel — currently only used for the explorer, allowing you to quickly navigate nested content from either the dashboard or the editor; You can open/close it using a button in the toolbar or by dragging the left-side border;
- Bottom menu — used for quick access to shortcuts and details, like switching active workspace or variant, and seeing stats of the edited content piece;
Sidebar
The sidebar is used as the primary means of navigation around Vrite UI. It’s visibly separated into two sections.
Top section — contains the options that let you navigate the main view, switching between the Dashboard and the Editor;
Bottom section — contains options for navigating the side panel:
- Content piece — shows the details and editor for metadata of the selected content piece;
- Source control — used to configure and manage Git sync (pull, commit, etc.);
- Settings — contains multiple sections to configure Vrite;
- Extensions — used to install and configure extensions;
- Help — opens the help section;
- Profile — open the profile dropdown displaying details of the signed-in user and other options;
Profile menu contains useful information and options like:
- Profile card - Displays user’s profile image and username, alongside a Logout button;
- GitHub and Discord - links to Vrite repository and community on respective platforms, for quickly getting help or reporting bugs;

Using Workspaces
The Workspace selection menu (accessible from the bottom menu or using the Select Workspace command) allows you to switch between different workspaces.
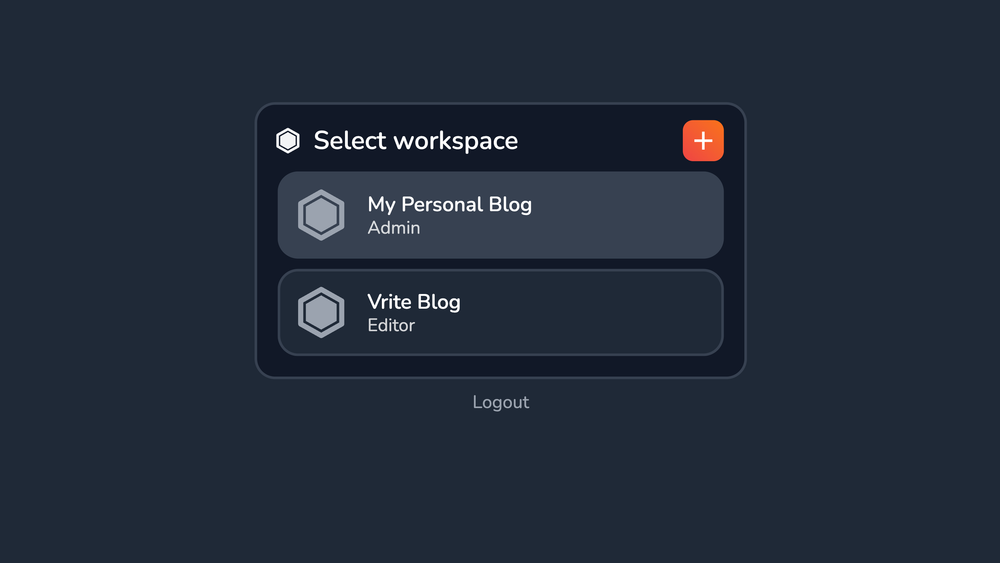
From here you can see a list of all the Workspaces you’re a member of, with recognizable information like their name, logo, and your role in them.
You can also create a new one by clicking the New Workspace button in the top-right corner.
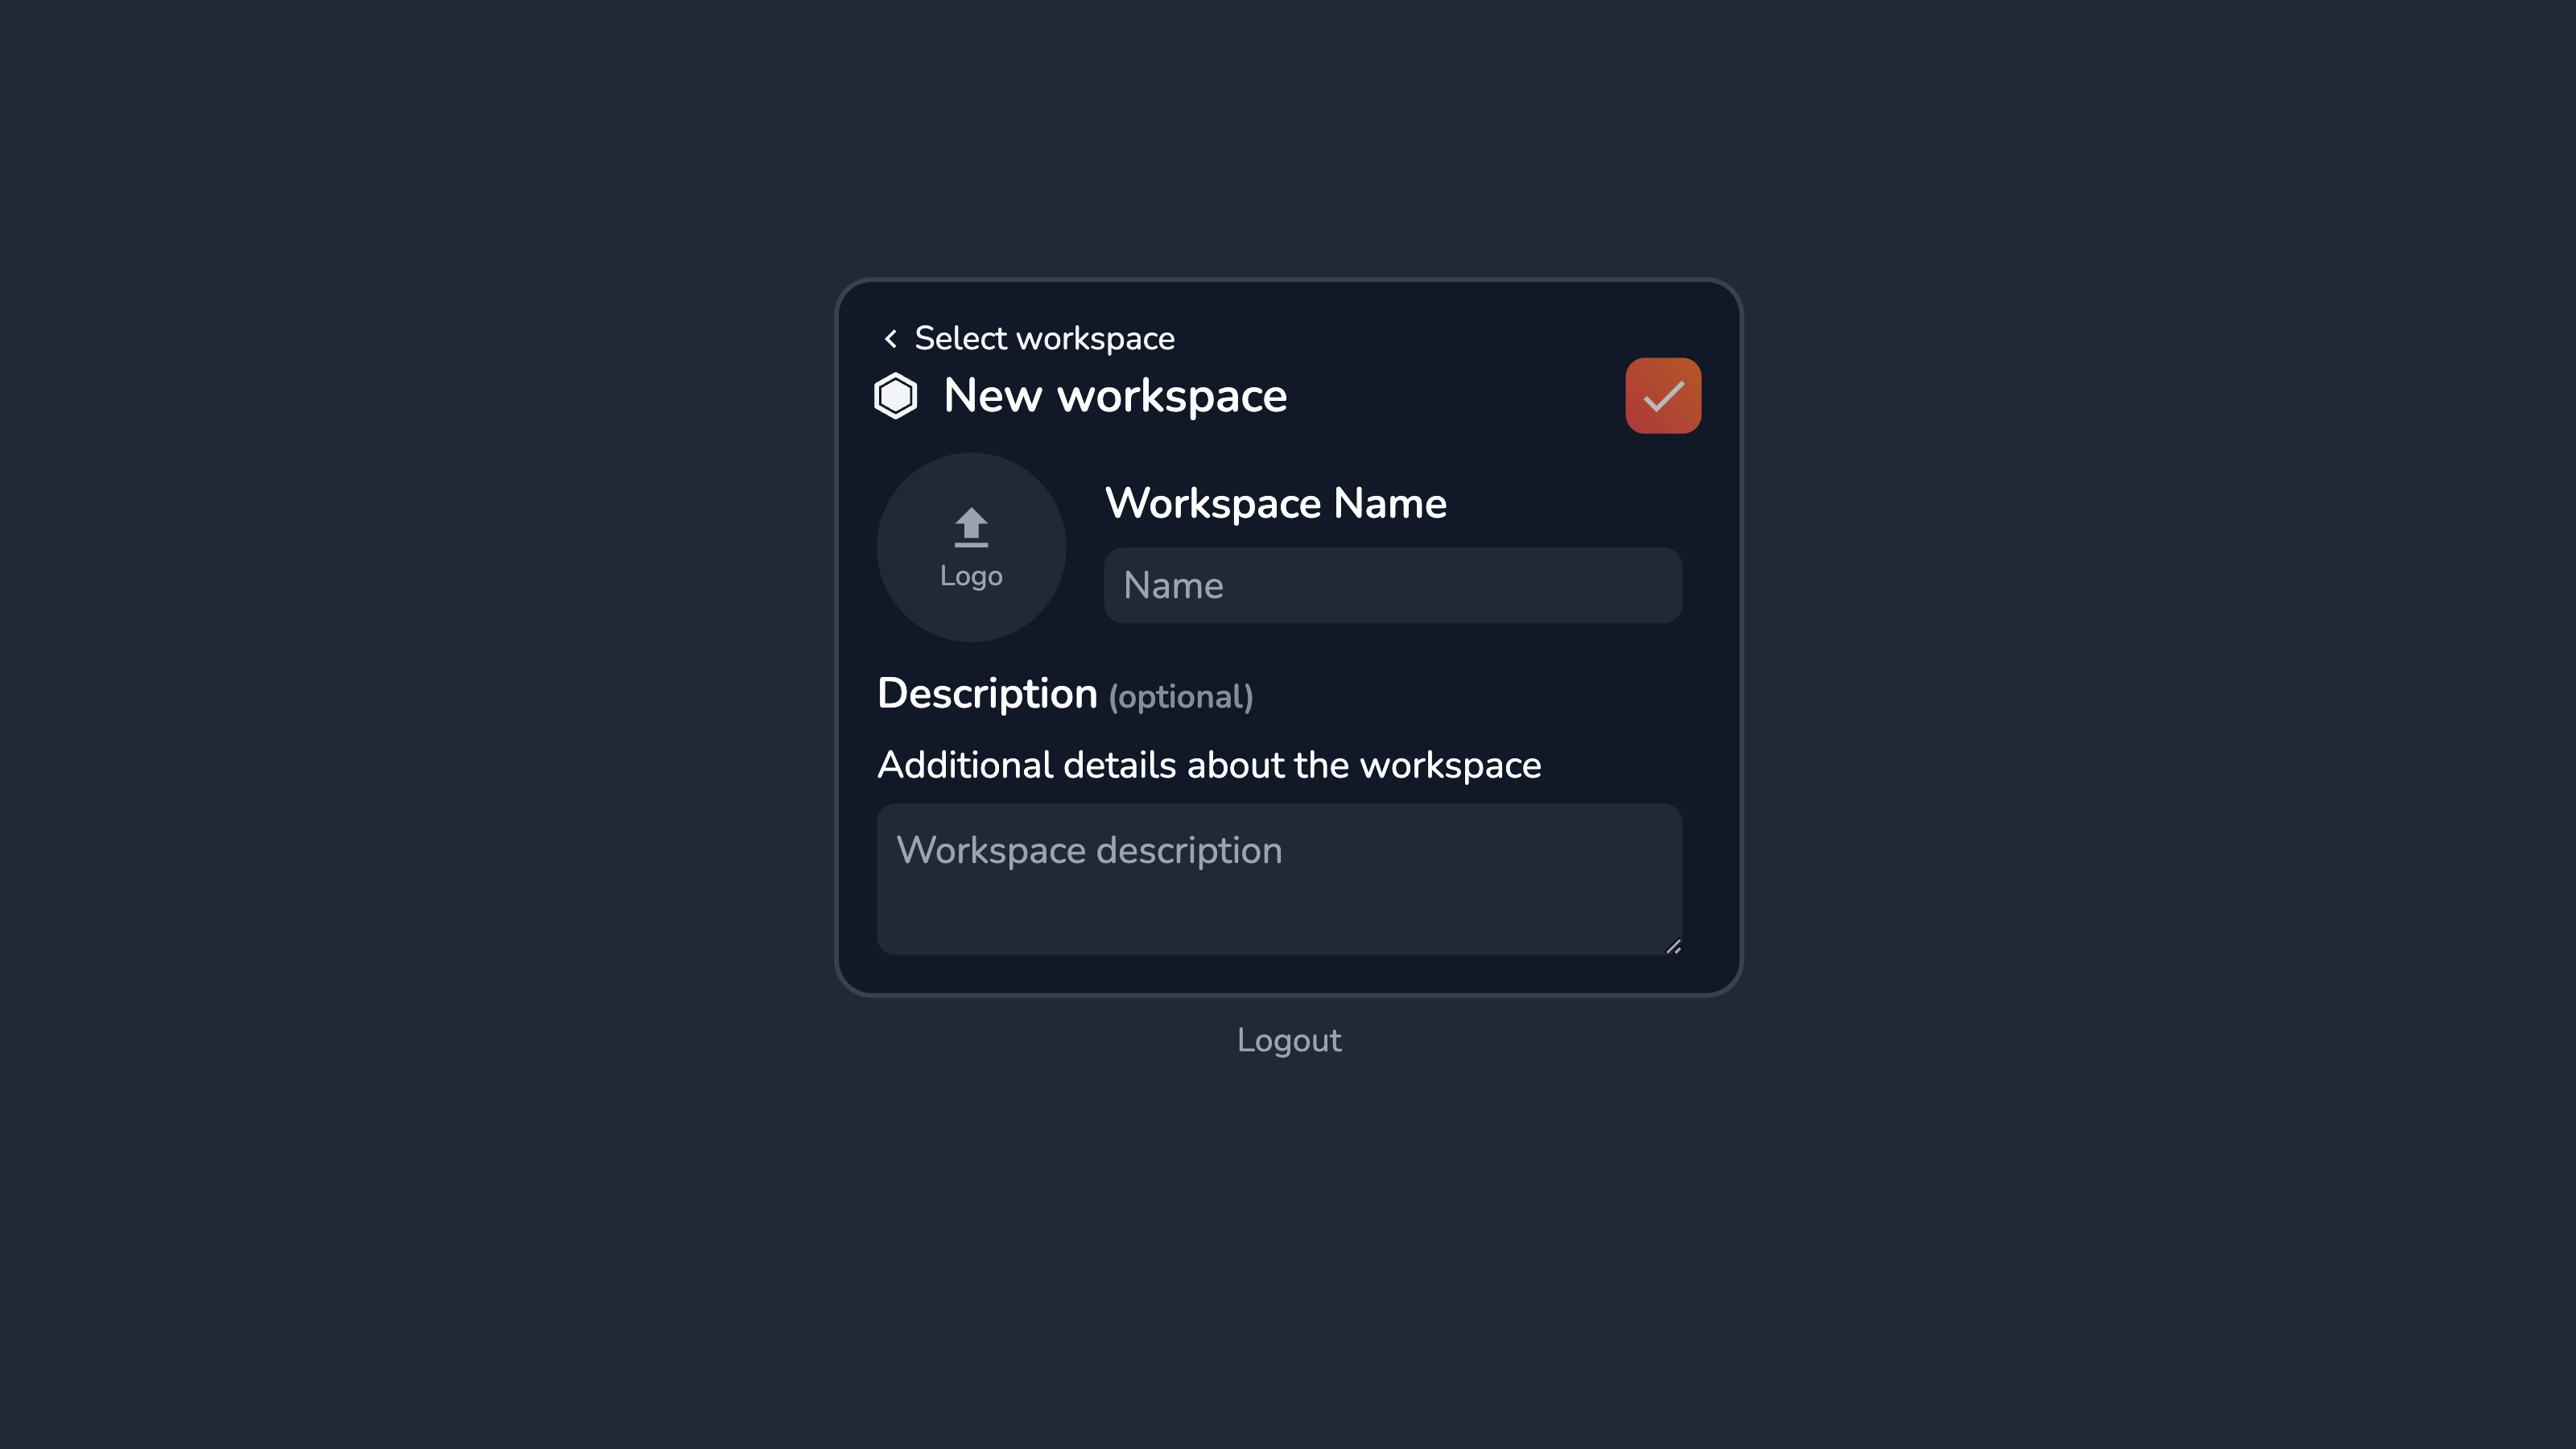
Provide a name for the new Workspace and optionally a description and a logo. Then click Create Workspace in the top-right corner and select the newly-created Workspace from the list to switch to it.